Screenshots are commonplace on social media, allowing friends to share funny text chains, weird software glitches or just about anything else they see on screen.
While you’ve been able to take screenshots on iPhones for years, the process differs depending on the model you’re using.
With that being said, here’s how to take a screenshot on an iPhone – even if your buttons aren’t working – and how to edit it too.
If you’re an Android user, you’ll want to take a look at how to take a screenshot on Android instead.
Taking a screenshot using buttons
The method of taking a screenshot differs depending on the iPhone you have; the Home and power buttons are used in earlier models, while the volume up button replaces the Home button on newer, bezel-less variants of iPhone.
iPhone X or later
With the introduction of the iPhone X, Apple ditched the Home button and, in doing so, removed the traditional process of taking a screenshot using the Home button.
Once ditched, it was gone for good. Here’s a list of all newer iPhones that don’t have a Home button:
- iPhone 15
- iPhone 15 Plus
- iPhone 15 Pro
- iPhone 15 Pro Max
- iPhone 14
- iPhone 14 Plus
- iPhone 14 Pro
- iPhone 14 Pro Max
- iPhone 13
- iPhone 13 mini
- iPhone 13 Pro
- iPhone 13 Pro Max
- iPhone 12
- iPhone 12 mini
- iPhone 12 Pro
- iPhone 12 Pro Max
- iPhone 11
- iPhone 11 Pro
- iPhone 11 Pro Max
- iPhone XS
- iPhone XS Max
- iPhone XR
- iPhone X
But how are users supposed to take screenshots without a Home button?
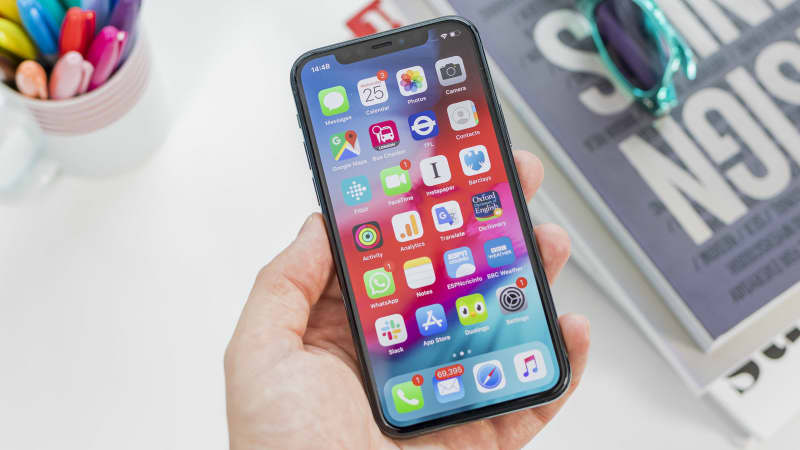
It’s easy! To take a screenshot on the iPhone X or later, simply press the Power/Side button and the Volume Up button at the same time. You’ve probably done it accidentally when picking up your iPhone – we certainly have on multiple occasions!
As long as you’re running a recent version of iOS, your screenshot should appear in the form of a thumbnail in the bottom-left of the display. You can tap the screenshot to edit and share (which we go into more detail about later) or swipe left to dismiss it.
If the thumbnail disappears before you can tap it, or if you’re running an old version of iOS that doesn’t feature screenshot previews, you can access your screenshots via the Photos app. Simply tap ‘Albums’ and then tap the ‘Screenshots’ category to see your screenshots all in one place.
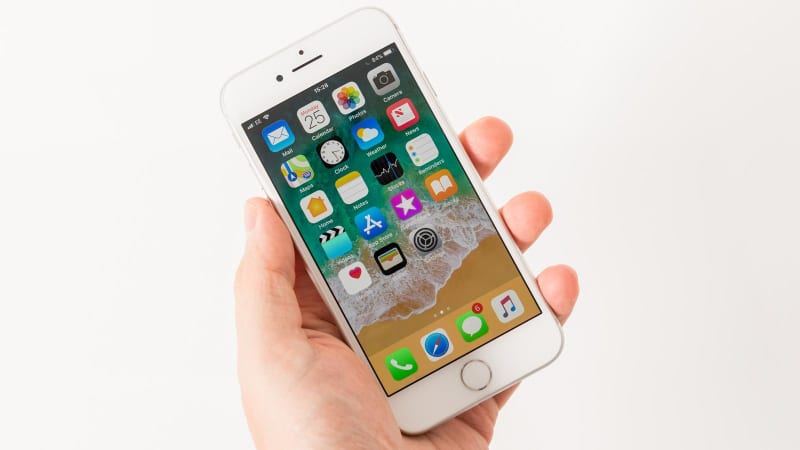
iPhone 8 or earlier
If you’ve got an iPhone 8 or earlier, the screenshot process is slightly different – as mentioned above, you’ll use the Home button instead of the Volume Up key as you do on newer devices. So, to take a screenshot on an older iPhone, simply press the Power and Home buttons at the same time.
Foundry
As noted above, depending on the version of iOS, you’ll then be able to tap the thumbnail that appears and edit it, or swipe to dismiss it for later use.
If you’re running iOS 10 or earlier the thumbnail won’t appear, but you’ll still be able to access your screenshots via the Photos app.
Taking a screenshot without buttons
If your Power/Home/Volume Up buttons don’t work for whatever reason, there’s still a way to take screenshots on your iPhone with AssistiveTouch.
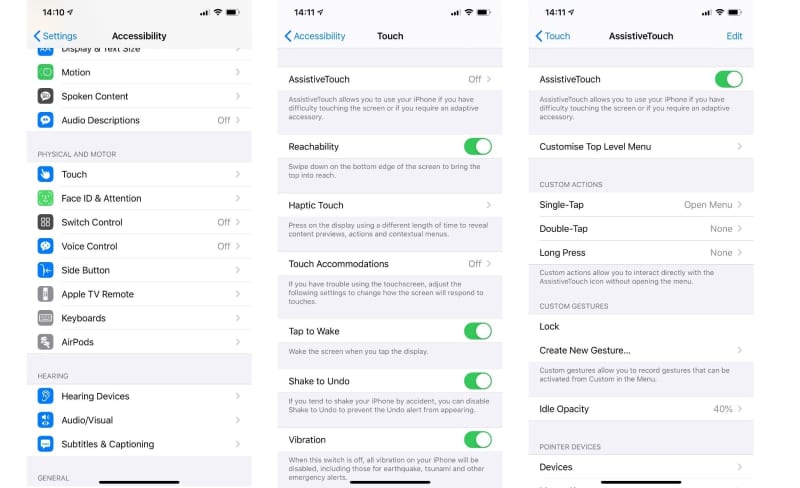
The handy on-screen toolbox provides access to a range of accessibility-focused features, ranging from simple tasks including locking the phone and taking a screenshot to more advanced accessibility-focused features such as activating the hold and drag input.
To enable the functionality, head to ‘Settings’ > ‘Accessibility’ > ‘Touch’ > ‘AssistiveTouch’ and toggle the ‘AssistiveTouch’ feature on.
Once toggled on, a small circle should appear on-screen. You can drag this around the screen and tapping on it brings up a suite of options. To take a screenshot, tap ‘Device’ > ‘More’ > ‘Screenshot’.
Editing your screenshot
So you’ve taken your screenshot, but how will your text recipient know what you’re pointing out if it’s not obvious?
Thankfully, with the release of iOS 11, Apple introduced Mark Up functionality, allowing you to doodle on your screenshots to help emphasise whatever point you might be making.
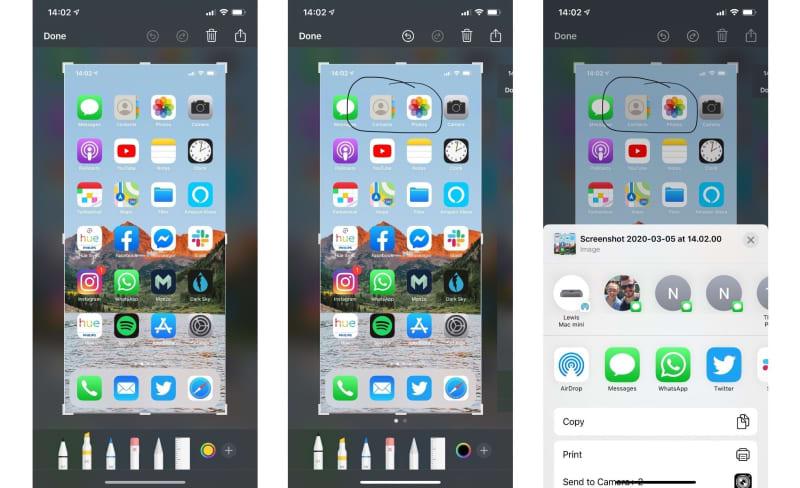
If you’re running iOS 11 or later, you’ll get access to the range of markup options by tapping the thumbnail that appears in the bottom-left once you’ve taken a screenshot.
You’ll be able to draw on your screenshot using either a pen, pencil or highlighter, and you’ve even got a virtual ruler to make sure your lines are as straight as an arrow. These tools make it easy to highlight something within your screenshot without the need to open a third-party app to do so.
You’re also able to crop your screenshot to hide potentially sensitive information before sharing on social media. And if you share your screenshot via the Share sheet (a box with an arrow pointing upwards) in the markup menu, you can simply delete the screenshot by using one of the options that appears when you tap done. Doing so should keep your Photos app clutter-free, that’s for sure.