Microsoft’s PowerPoint is extremely popular in schools, universities, and the corporate world, but it has never been as popular with home users. Not surprising since it’s all about creating presentations, something a private person doesn’t have to do very often.
So, if you suddenly find yourself needing to make a PowerPoint presentation and have no idea how to make it good, rest assured that you aren’t alone and there’s hope for you.
Microsoft Office 365 Home

Read our review Price When Reviewed: $1.99 month (100GB) | $6.99 month (1TB) | $9.99 month (Family, 6x1TB) Best Prices Today: $1.99 at Microsoft | $69.99 at Amazon
These days, PowerPoint is more than just a basic slideshow—it can be used to create video presentations with voice-over narration, and it even has an AI-based helper called Designer that gives suggestions on how to make your presentation better.
Here are several smart tips and tricks you can use to improve your PowerPoint presentations and come off as a pro.
1. Customize Quick Access
Have you noticed that PowerPoint—and the other apps in Microsoft 365 for that matter—have a small, narrow toolbar at the very top of the application window? By default, you’ll find shortcut buttons for toggling Auto Save and basic actions like Save, Undo, Repeat, etc.
This nifty toolbar also comes with some app-specific actions that you may or may not use frequently. In PowerPoint, for example, there’s a shortcut to start slideshows from the beginning.
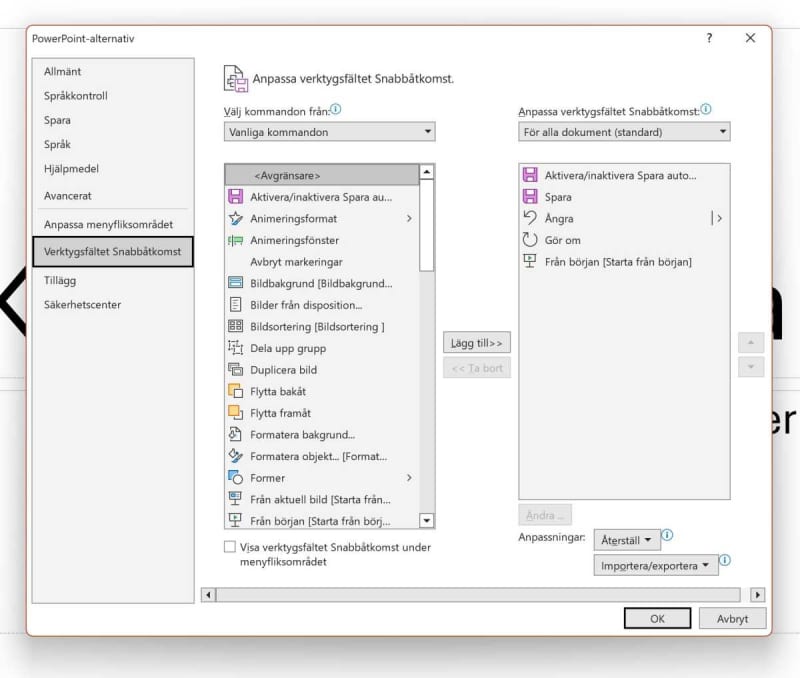
This toolbar is called Quick Access and you can actually customize what actions show up here. You can add frequently used actions while removing the ones you never use.
This can make it easier to find important functions that you would otherwise have to rummage around the ribbon to find.
Foundry
To customize Quick Ass, select File > Options and then Quick Access Toolbar. The box on the right shows the actions currently on it and their order. The box on the left has all the available actions you can add.
Select an action you want in Quick Access and click on Add. To change the order, highlight the action you want to move and use the the arrow buttons on the right side of the window.
2. Use custom themes and templates
PowerPoint comes with a bunch of ready-made templates for presentations, which have also been themed.
A theme is a collection of settings for typography, colors, and effects that make it easy to maintain a consistent style across presentations. A template is a theme plus ready-made content that makes it easier to make a particular type of presentation again in the future.
Foundry
For example, a company may have a theme that defines the colors and fonts employees should use in presentations, plus a number of templates for product presentations and quarterly reports.
A template may have a number of ready-made slides with images, charts, and everything else already laid out. When you create a new presentation from a template, you will find these individual page templates in New slide in either Start or Insert.
Creating your own custom theme
New themes can be added at any time as long as you have a presentation open—even if it’s a blank presentation.
Select the Design tab and click on the small down arrow with a dash over it on the right side of the Variants section. This shows the four categories of settings you can designate for a theme.
Foundry
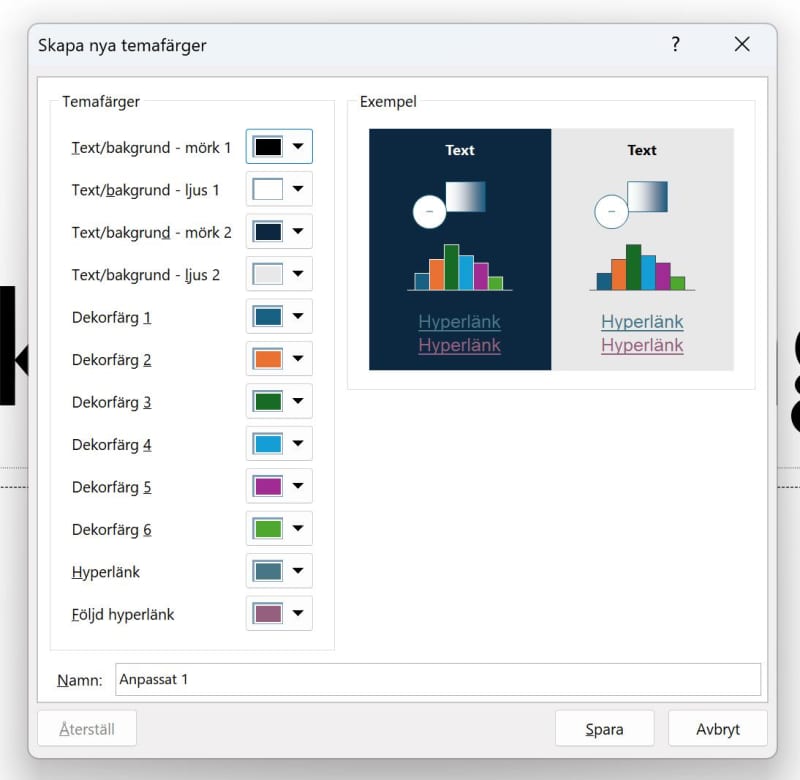
Select Colors > Customize Colors… and the Create new theme colors dialog box will open. A complete set of theme colors includes two pairs of text and background colors (dark/light, to be used either for dark text on a light background or vice versa), six spot colors used for graphic elements, and two colors for hyperlinks. Enter a name at the bottom and click Save when you are done.
If you also want to change the font, select Fonts > Customize Fonts… and you’ll be able to designate a Heading font and a Body font. I recommend a neutral, easy-to-read font for both.
Under Effects, you can choose the style of effects but there’s no way to customize or create a completely new effect. Under Background Styles, you can select Format Background… to tweak backgrounds.

Foundry
When you’re done, go to the Themes section of the Design tab and click the down arrow with a line above it, then select Save Current Theme… to save your new theme. Give it a name and save and your new theme will appear among the available themes in the Design tab of all presentations.
Create your own custom templates
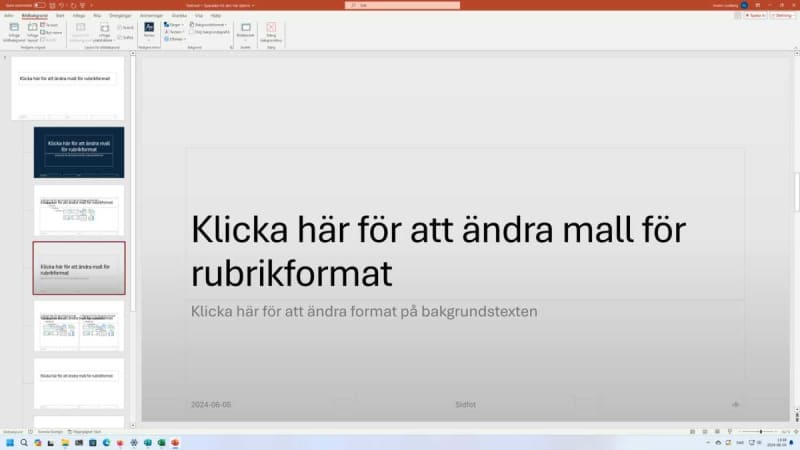
To create a new PowerPoint template, you can start from either a blank presentation or an existing template. Don’t add any content of your own yet. Instead, go to the View tab and click on Slide Master.
Start by changing the theme of your new template, under the Themes button. If you created your own theme as described above, it will normally be at the top of the list of available themes.
Foundry
PowerPoint uses the term layouts for slide templates. Click on the Insert Layout button to create a new slide template.
New layouts are automatically given a header and a footer, but you can remove them if you wish (either by selecting and deleting the elements manually or via checkboxes in the Slide Background tab).
To delete an existing layout, right-click on it in the list and select Delete Layout or select it in the list and press Backspace.

Foundry
To add new design elements to a layout, click the Insert Placeholder button in the ribbon and select the element type you want. You can then position and resize it, and change the placeholder text for it.
If you want to make per-layout changes, make sure to select that layout in the list before tweaking. For example, you can change a layout’s color theme or switch between the four background formats.
When you’re happy, save the template by selecting File > Save As and changing the format to Powerpoint Template (*.potx). Templates can be stored either locally on your computer or in OneDrive—and since the theme is included, you can freely share the template with others.
Foundry
3. Link to Excel data
If you’re making a presentation with figures in tables or charts, you can make your life easier by linking PowerPoint to Excel.
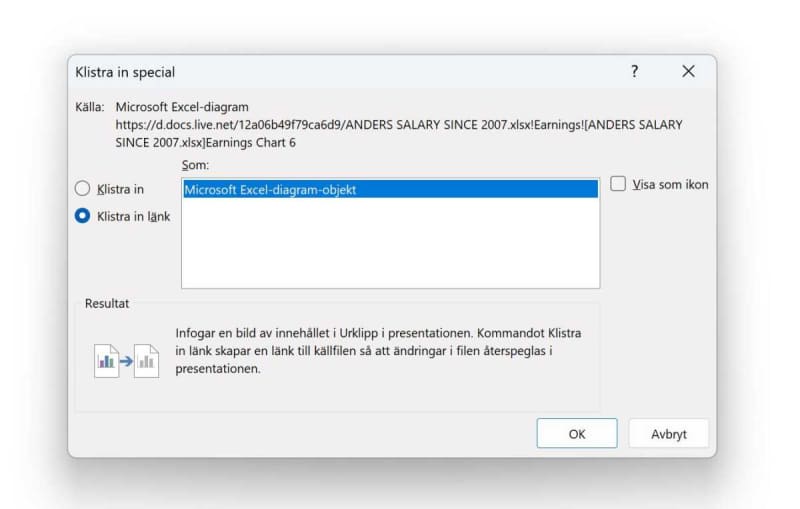
To do this, start by copying a chart in Excel, then switching over to PowerPoint and navigating to the Home tab in the ribbon. Select Paste > Paste Special…, then choose the Paste Link option, select Microsoft Excel Chart Object and finish by clicking OK.
Foundry
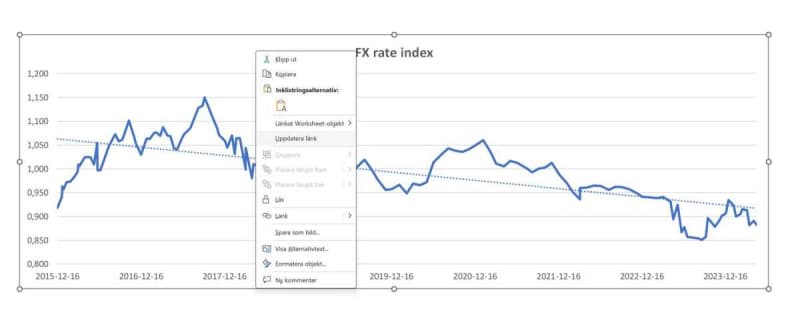
A linked chart, table, or other Excel object can be instantly updated with up-to-date information as the data in the Excel document changes, all without having to copy and paste all over again.
To update the Excel object, right-click on it in PowerPoint and select Update Link. PowerPoint will retrieve the latest data to be reflected in the Excel object. This makes it easy to build a data-heavy report in PowerPoint that can be kept up-to-date with zero hassle.
4. Edit and apply effects to images
Basic slide editing in PowerPoint isn’t difficult, but there are a few tricks you can learn to make your slides both behave the way you want them to and do new things you may not have realized were possible.
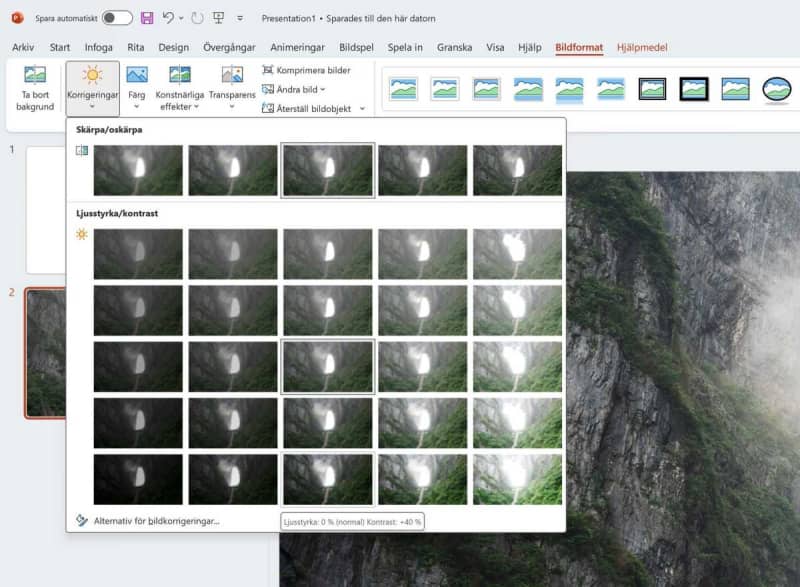
For example, did you know that PowerPoint has built-in editing features that can change brightness, contrast, and sharpness of images?
Foundry
Select an image in a slide and the Picture Format tab will open. Here you’ll find several adjustments you can make:
- Corrections alters brightness, contrast, and sharpness
- Color applies color filters
- Artistic Effects stylizes the image (but apart from the useful Blur effect, most of these feel pretty old-fashioned)
- Transparency makes the image more or less transparent
- Picture Styles can format the image in various ways (e.g., frame, shadow, rounded corners, perspective, etc.)
One thing you’ll notice when you add an image is that PowerPoint automatically generates alternative text—that is, descriptive text that gets read aloud for users with visual impairments. You can set this text to whatever you want, and it’s nice that Microsoft has thought about accessibility in this way.
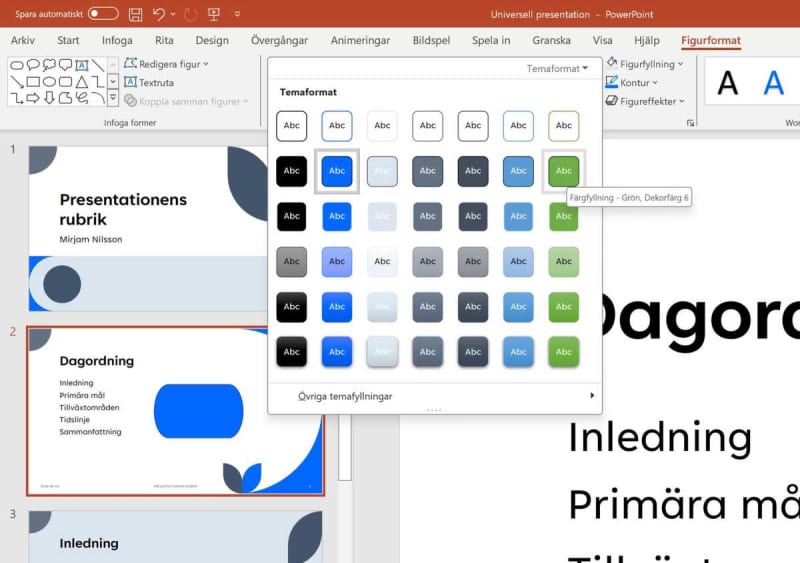
5. Fill a shape with an image
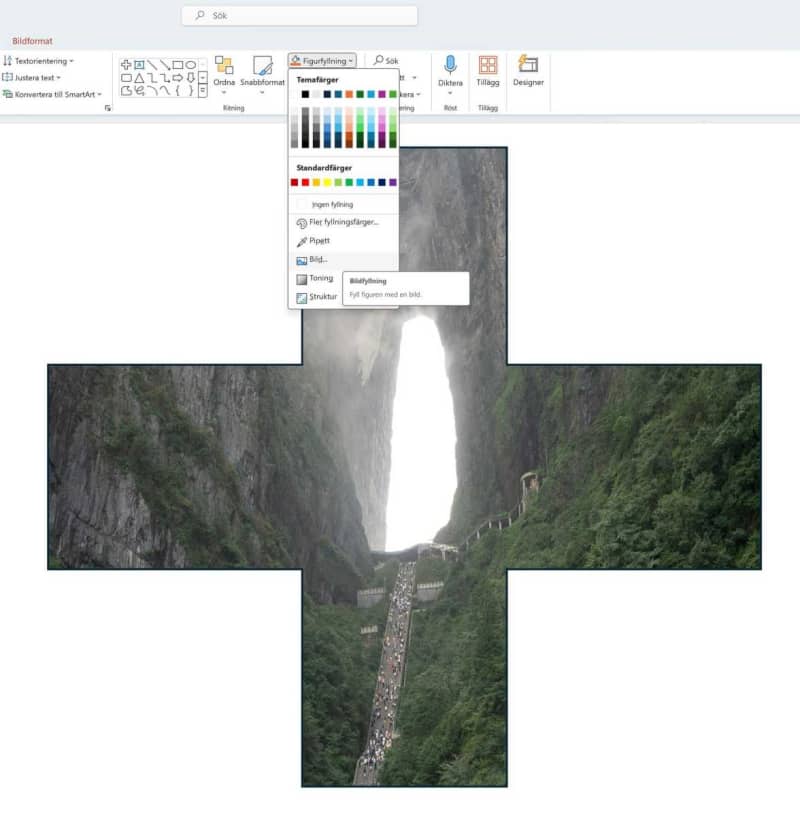
PowerPoint makes it easy to fill a vector graphic shape with an image instead of just a solid color or gradient.
Create the shape as you want it, then make sure it’s selected before navigating to either the Home or Figure Format tabs in the ribbon. Select Shape Fill > Picture…, then select From a File to pick an image that’s saved on your computer.
Foundry
If you aren’t satisfied with the positioning of the image in the shape, you can open the Picture Format tab and select Crop > Crop to resize and move the image in relation to the shape, allowing you to center it at a different point and even zoom in or out.
6. Incorporate audio and video
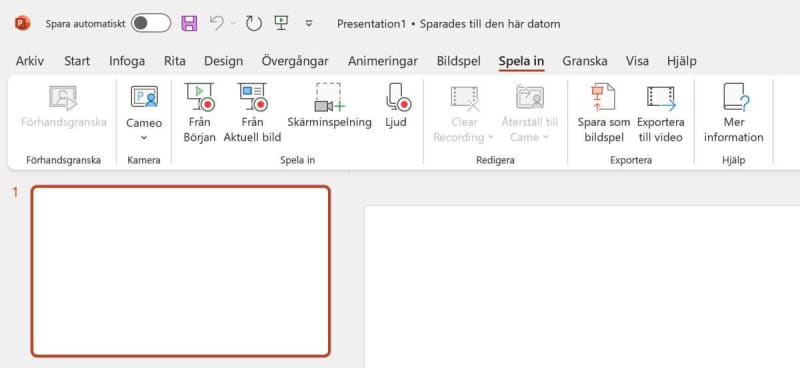
These days, PowerPoint isn’t just for presentations on screen or with a projector—it’s increasingly common to export finished presentations as videos to be sent to recipients, uploaded to the web, embedded in mobile apps, and more.
Foundry
To make such presentations more vivid and interesting, you can record voice-over audio and/or video from a connected webcam to be placed on top of slides. You can find these features in the Record tab, where PowerPoint has also placed the Export to Video function.
The export function allows you to set the video resolution as well as how long each slide will display in the video.
More on this: How to turn a PowerPoint presentation into a video
7. Get AI help with Designer
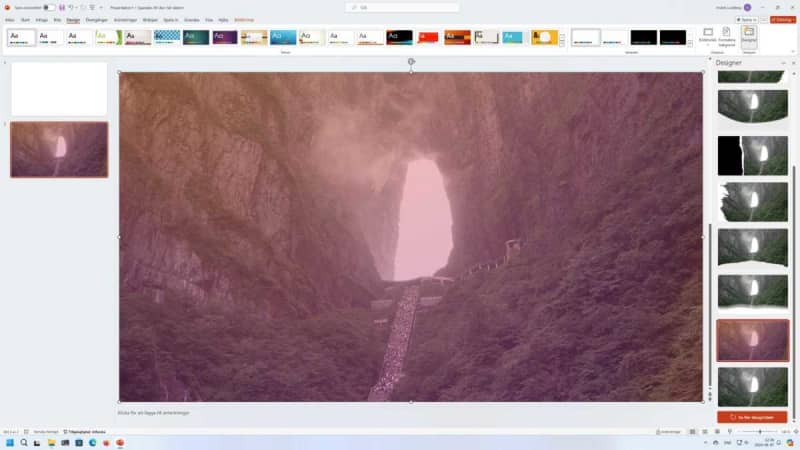
Designer is the new name for Design Ideas, a feature that has been around since PowerPoint 2016 and uses machine learning to analyze the content of presentations and suggest improvements.
You can find it as a button in the Home and Design tabs, with Designer itself appearing in a column on the right.
Foundry
This feature continuously analyzes your presentation and displays a list of suggested changes for the current slide. If you don’t like any of the suggestions, you can click on See More Design Ideas at the bottom and it will generate additional suggestions.
How attractive and useful are the suggestions? Well, it varies. When I tested it myself, they’ve rarely been results that I could use straight away—but the suggestions were helpful in that they gave me several great ideas that I hadn’t thought of myself.
For example, in the image above, you can see a suggestion for a color filter on a photo that looks like it could work really well with bright text and maybe a little blur.
Further reading: PowerPoint keyboard shortcuts worth knowing